How to Create A Github Repository
Did you ever face a situation in your life where you completed an assignment for school and forgot it at home? Or have you ever done some work but lost it? These kinds of situations are pretty common in programming. There are also situations when we need to access our work even though we don’t have the device with us at that moment. To overcome this problem with our code, we can upload our code or projects to a GitHub repository. Based on its permissions, you or everyone can access your code and even download (pull) it onto their machines.
To upload the code (which we call pushing code):
You need to have a GitHub account.
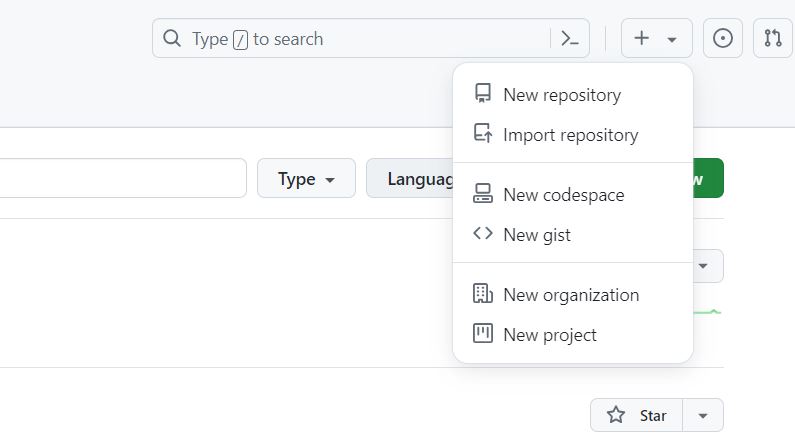
After creating a GitHub account, go to your profile and find the + button where you will find the “New Repository” option.
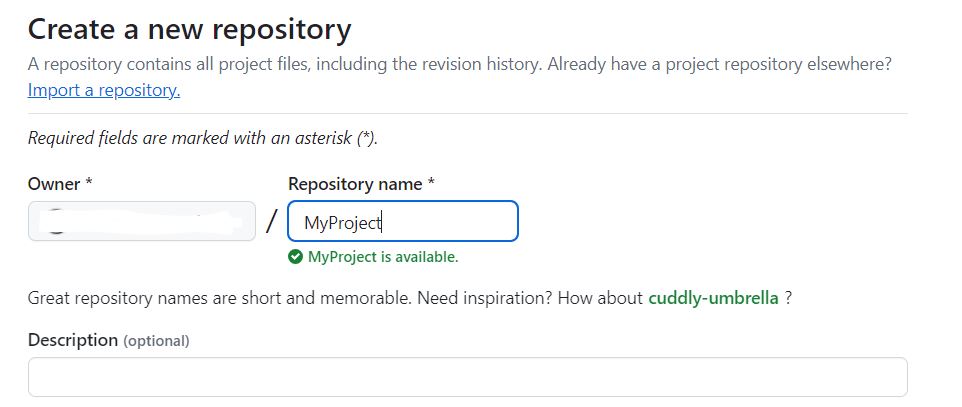
Clicking it will take you to a new page where you need to give a name for the project.
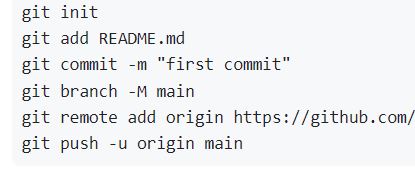
After that, go to your command window in Windows, or if you are using VS Code or any other coding software, go to its command terminal and enter the following command:
git init
git add README.md
git commit -m “first commit”
git branch -M main
git remote add origin https://github.com/AccountName/MyProject.git
git push -u origin main


After entering these commands, go back to the repository tab on GitHub and reload the page. You will see that the page now shows a README.md file, which means your code is uploaded to GitHub. Now, if you change any code and want to push it again, enter these 3 commands below:
git add .
git commit -m “any name”
git push

